

How to Scan Documents Directly to iCloud Drive on iPhone
What Finder is to macOS, Files is for iOS. The iOS stock file manager has slowly merely steadily added a range of user-friendly features including the super handy binder-sharing, the ability to compress/excerpt ZIP files, and the built-in document scanner for efficient file direction. Speaking of document management, you can scan documents straight to iCloud Drive, Google Drive, Dropbox or other deject storage services using the Files app on your iPhone or iPad for enhanced security and universal accessibility. Allow me help you get started with this peachy file direction feature!
Scan Documents Directly to iCloud Drive / Dropbox / Google Bulldoze on iPhone and iPad
iCloud Drive is securely integrated with the Files app so that you can store all of your documents seamlessly. Besides, the stock file manager also supports other major deject storage services. It even lets you keep your files and docs locally. So, depending on your needs, you can choose the desired storage location to save your scanned docs there.
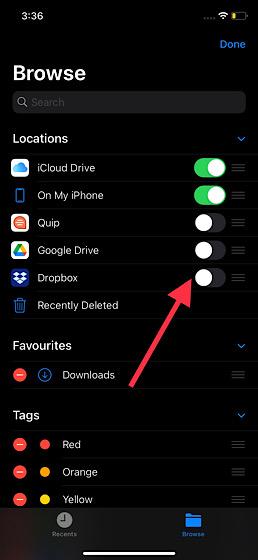
But in case you want to store your docs in other deject storage service, exist sure you lot take enabled it. Simply head over to the Locations section in the Files app and tap on the three dots at the top right. Adjacent, choose Edit on the carte. So, turn on the toggle for the deject storage app.
Select Preferred Storage Location in Files App on iOS/iPadOS
First off, we are going to select the desired location to save the scanned documents.
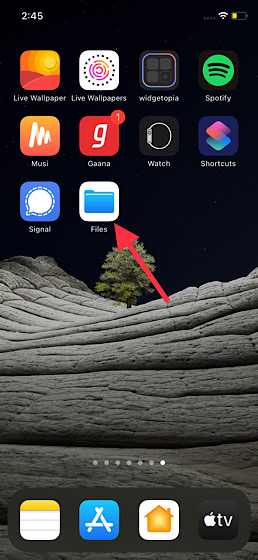
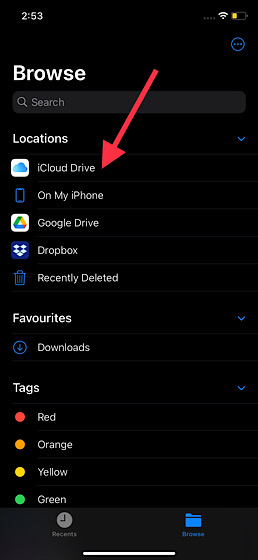
- To get going, open the Files app on your iPhone or iPad.
2. At present, tap on the Browse tab at the bottom. Then, tap on the "back" button at the top left corner of the screen.
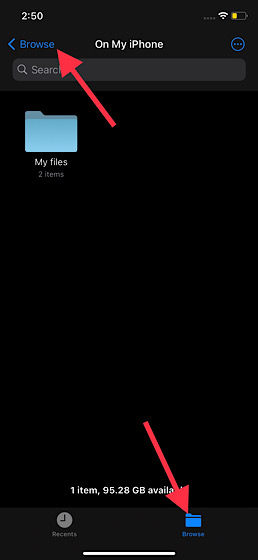
three. Next up, select the preferred storage location. As I said above, you have the pick to cull iCloud Drive and other supported deject storage service. Besides, you can also choose to select On My iPhone/iPad to save the scanned document locally.
Scan Straight to Your Desired Location in Files App on iOS/iPadOS
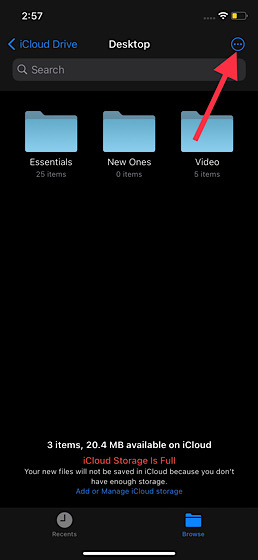
After y'all have chosen the specific location, you lot can get started with the scanning as usual.
4. Tap on the three dots at the acme right corner of the screen.
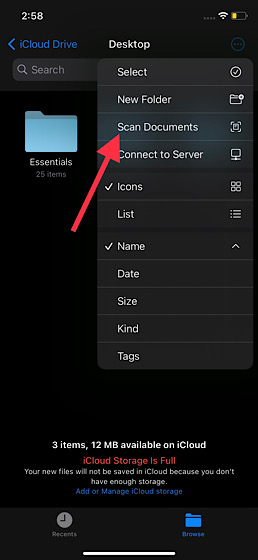
v. Now, select the Browse Documents option.
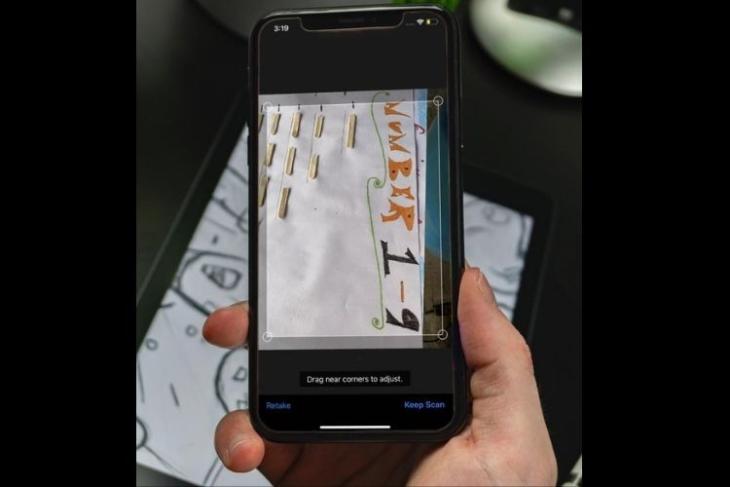
6. Next, become alee and scan the document as usual. Notably, there is also an choice to use the auto-capture feature. To do and then, bring your document into the viewfinder or apply the shutter button to snap the scan. As well, y'all can also drag the corners to make your browse look better.
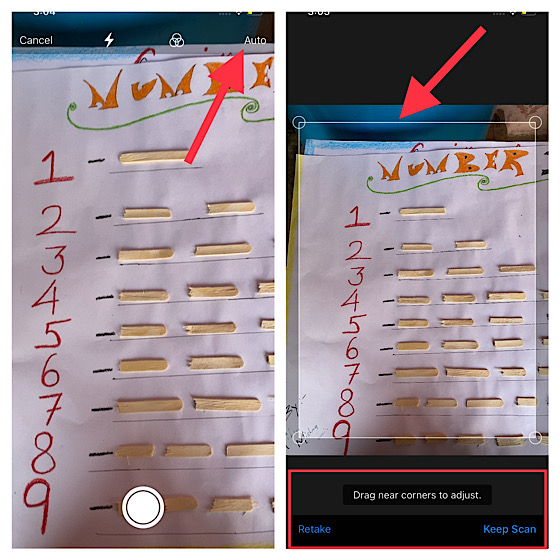
Note: During the scanning, you will become the option to Keep Scan or Retake. If yous are happy with the browse, choose Keep Browse. But if you aren't pleased, select Retake to go for the fresh accept.
7. Once y'all have scanned the md, make certain to tap on Salvage.
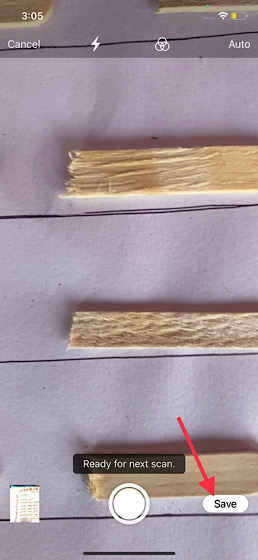
That'due south it! Your scanned document volition be saved in your desired location.
Salve the Scanned Documents to Your Desired Location on iPhone and iPad
So, that'due south how you lot can directly scan to iCloud Drive, Google Drive, Dropbox or local storage on your iOS or iPadOS device. If you want to access your docs from whatever device and too offer it an extra layer of safeguard, go for the cloud storage option. Nevertheless, if you lot wish to proceed your docs locally, select the "On My iPhone/iPad" option.
What practise yous have to say well-nigh the stock file managing director and which are the new features that yous have found appreciable? Do shoot your thoughts in the comments section beneath.

Source: https://beebom.com/how-scan-directly-icloud-drive-iphone-ipad/
Posted by: wrightthister.blogspot.com
0 Response to "How to Scan Documents Directly to iCloud Drive on iPhone"
Post a Comment